
How to Fit for Wooden Blinds
What do I need to fit?
Tailored to your specifications, our straightforward installation guide will seamlessly lead you through each stage. With our assistance, you’ll swiftly hang your new wood blind, becoming the envy of your neighbors and friends in no time!
- Pencil: For marking the placements of your brackets on the wall or window frame.
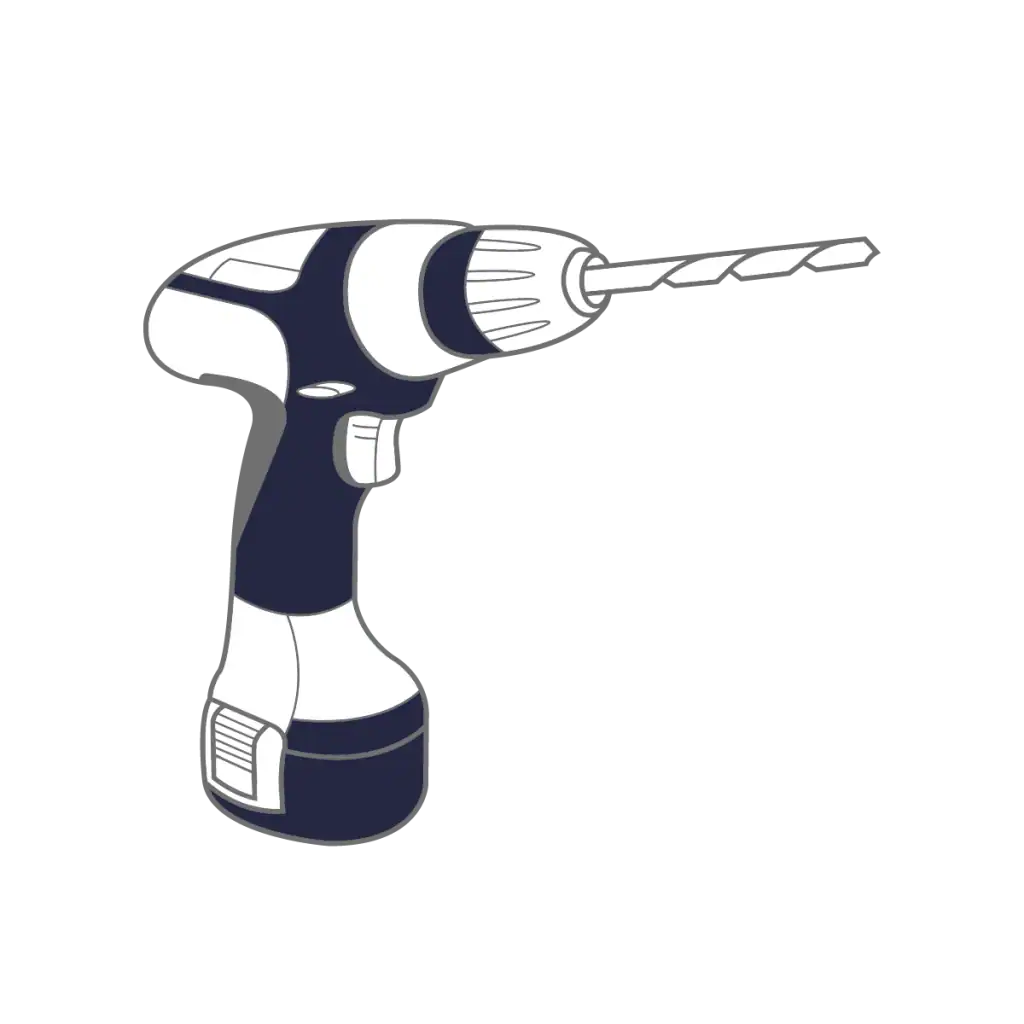
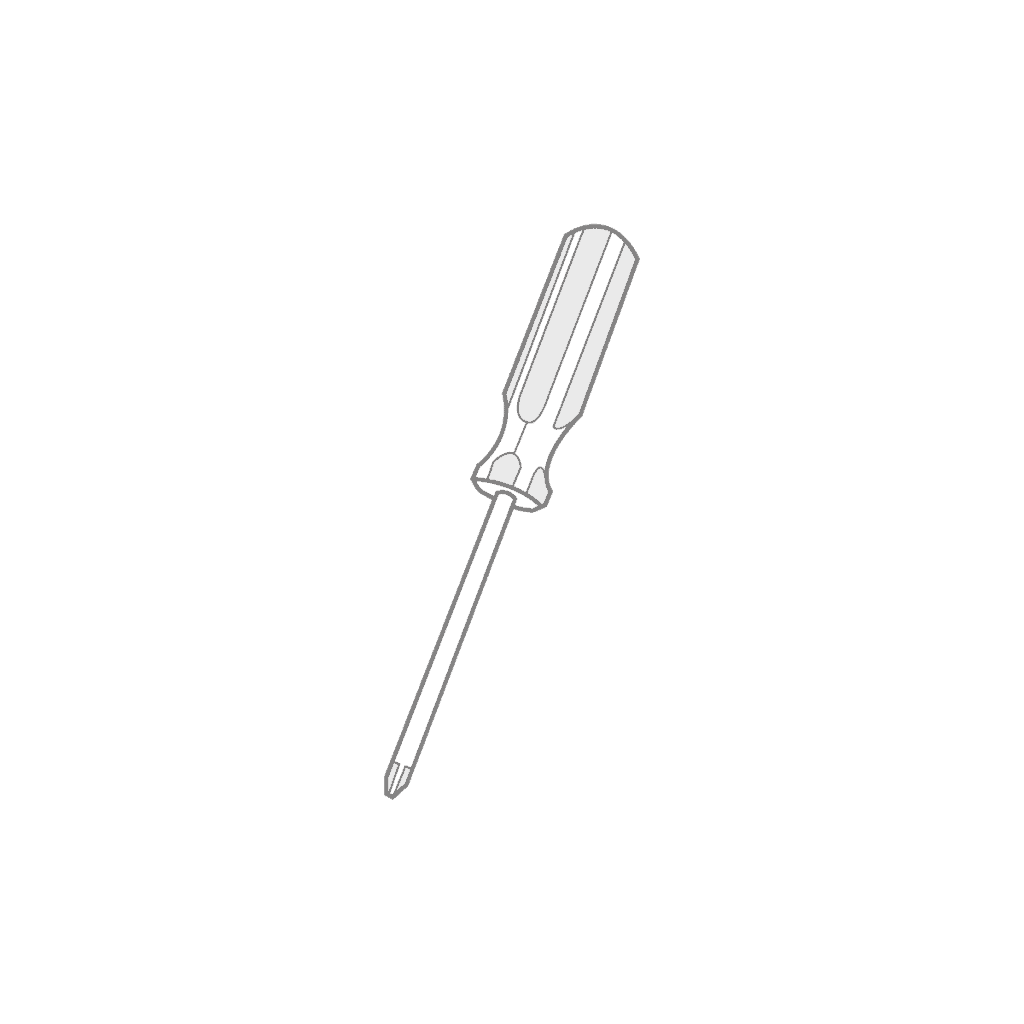
- Screwdriver or power drill: To efficiently install the brackets and screws.
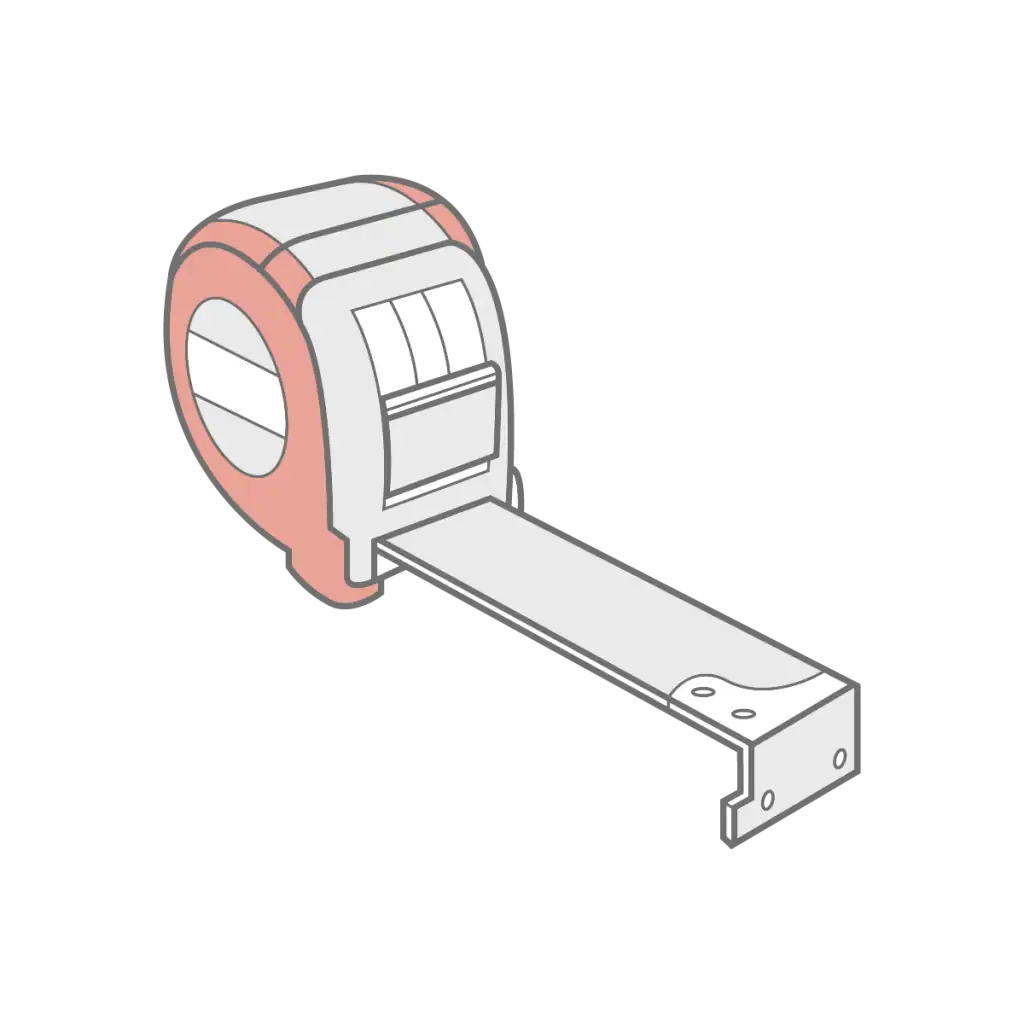
- Measuring tape: To accurately measure the positions for bracket placements.
- Appropriate screws and wall plugs: Ensure you have the correct fittings suitable for the surface you’re mounting the blinds onto. Whether it’s plaster, wood, or steel, it’s advisable to research and select the best fittings for your specific blind installation.

Accessories
- The headrail & box of vanes*.
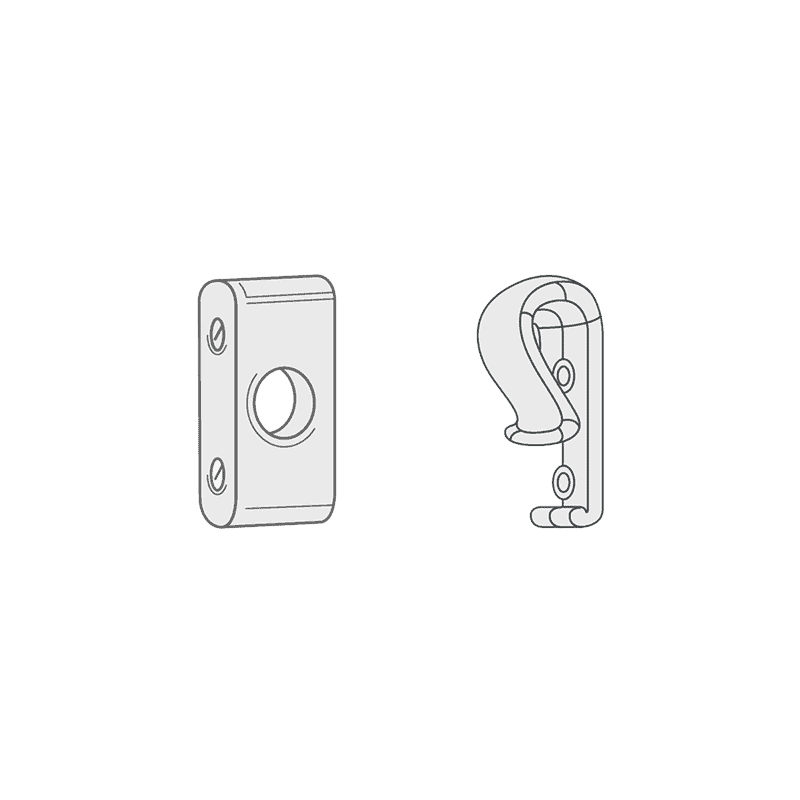
- Top fix & face fix brackets.
- Weights and connector chain.
- Child-safety clip for your wall.
- Screws for the safety device (if chain controlled).
Fitting your blinds
Step 1:- Fitting the brackets
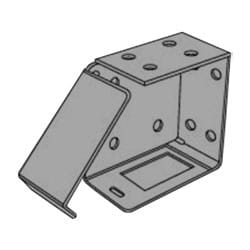
Our box-end brackets offer several fitting options: top fix, face fix, and side fix. Choose the option that best suits your window or door, always ensuring that the hinged flap faces inward into the room, as demonstrated.
Once you’ve determined the ideal position for your first bracket, mark it with a pencil, including the drill hole locations. Then, use a tape measure to ensure alignment as you mark the position for the second bracket.
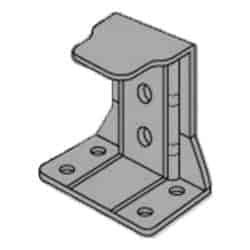
Repeat this process for any C-shaped support brackets, spacing them evenly across the headrail. Be cautious not to position them atop tilt/raise mechanisms and keep them clear of cords and tapes.
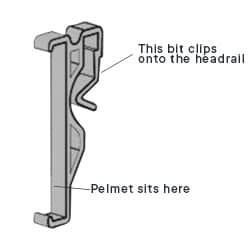
Step 2:- Fitting the pelmet
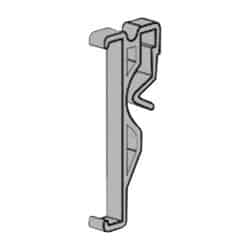
Position the pelmet in front of your headrail and use the groove on the headrail to apply your pelmet clips.
If you have an exact measured blind, you may have a ‘mitred’ pelmet, with the pelmet cut with angled ends and extra end pieces. For a recessed blinds, you only need to apply the front pelmet.
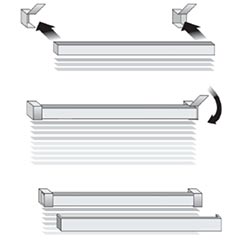
Step 3:- Fitting the headrail
Before installing your blind, attach at least two pelmet clips onto your headrail. This step is easier to complete now rather than after the blind is installed.
Care Tips:
Both faux wooden and real wooden blinds maintain their appearance through regular use, utilizing the tilting feature to adjust light and opening and closing to prevent dust buildup.
When cleaning the slats, exercise caution with the cords (or tapes, if applicable) of faux wooden blinds, despite their waterproof slats.
For deep cleaning, it’s advisable to refrain from using bleach and cleaning fluids as they may harm the blind. Instead, opt for hot water and a damp cloth.
Regular light dusting should suffice to keep the blinds in good condition.
Child Safety
- All blinds pose a strangulation risk due to cords and chains. It’s crucial to keep them out of reach and promptly install all safety devices provided with the blind immediately after fitting.
- Ensure that all cords are kept away from small children, vulnerable individuals, and pets. Take precautionary measures such as moving beds, cots, and climbable furniture away from windows. Avoid tying cords together and ensure they do not twist to form a loop.
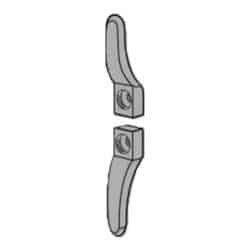
- This blind includes a safety device designed for wall mounting and a cord with a breakable join. The breakable join is intended to snap under pressure and should not be altered.
- When installing the safety device, position it at the maximum distance possible from the control mechanism and at least 2.0 meters from the floor. Wrap any excess cord around the safety device, ensuring this is done whenever the blind is not in use.
- Regular Maintenance: Regularly inspect vertical blinds for signs of wear or damage. Replace broken or frayed cords promptly to prevent accidents.
- These precautions are essential for ensuring the safety of everyone in the household.