
How to Fit for Pleated Blinds
What do I need to fit?
pleated blinds are a practical and stylish window treatment option that offers versatility, light control, privacy, and energy efficiency. Whether you’re looking to update the look of your home or enhance its functionality, pleated blinds are an excellent choice for any room.
To properly fit your blinds, you will need:
Appropriate screws and wall plugs: Ensure you have the correct fittings suitable for the surface you’re mounting the blinds onto. Whether it’s plaster, wood, or steel, it’s advisable to research and select the best fittings for your specific blind installation.
- Pencil: For marking the placements of your brackets on the wall or window frame.
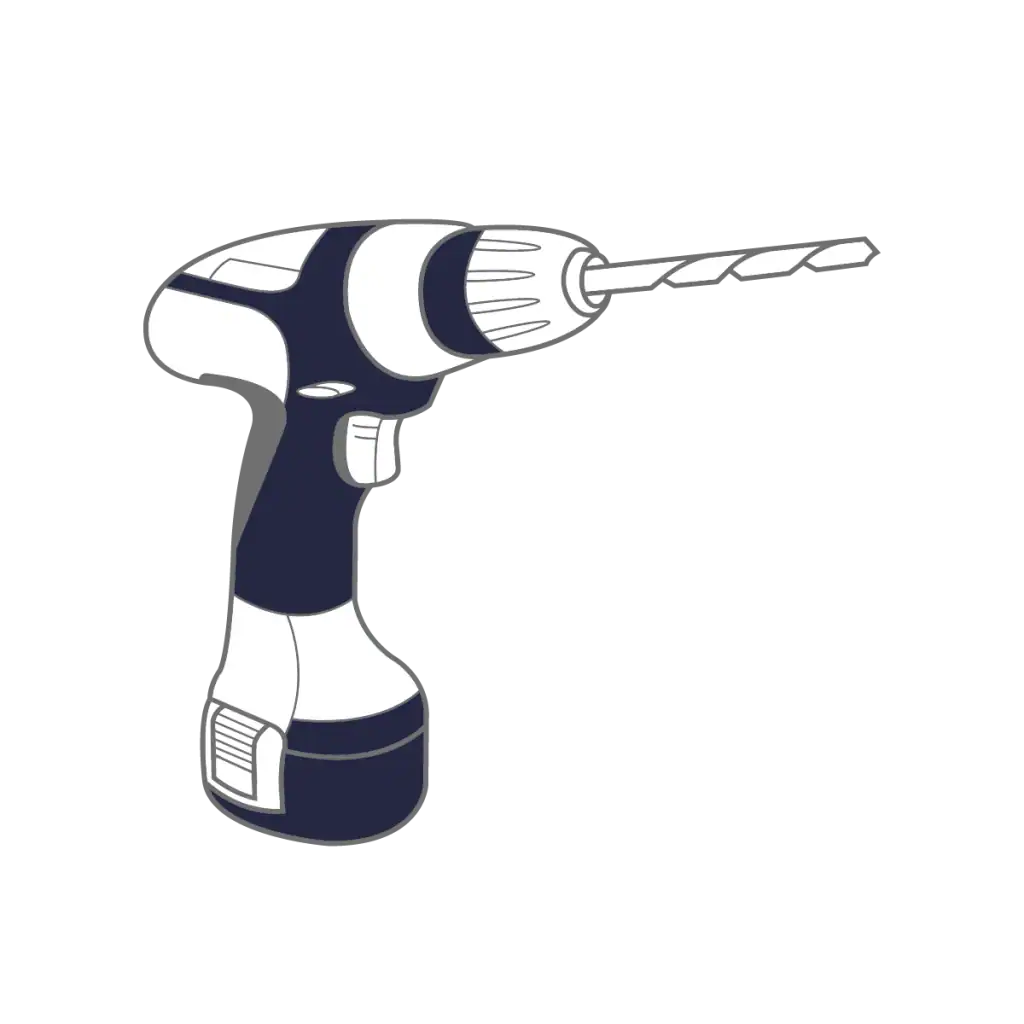
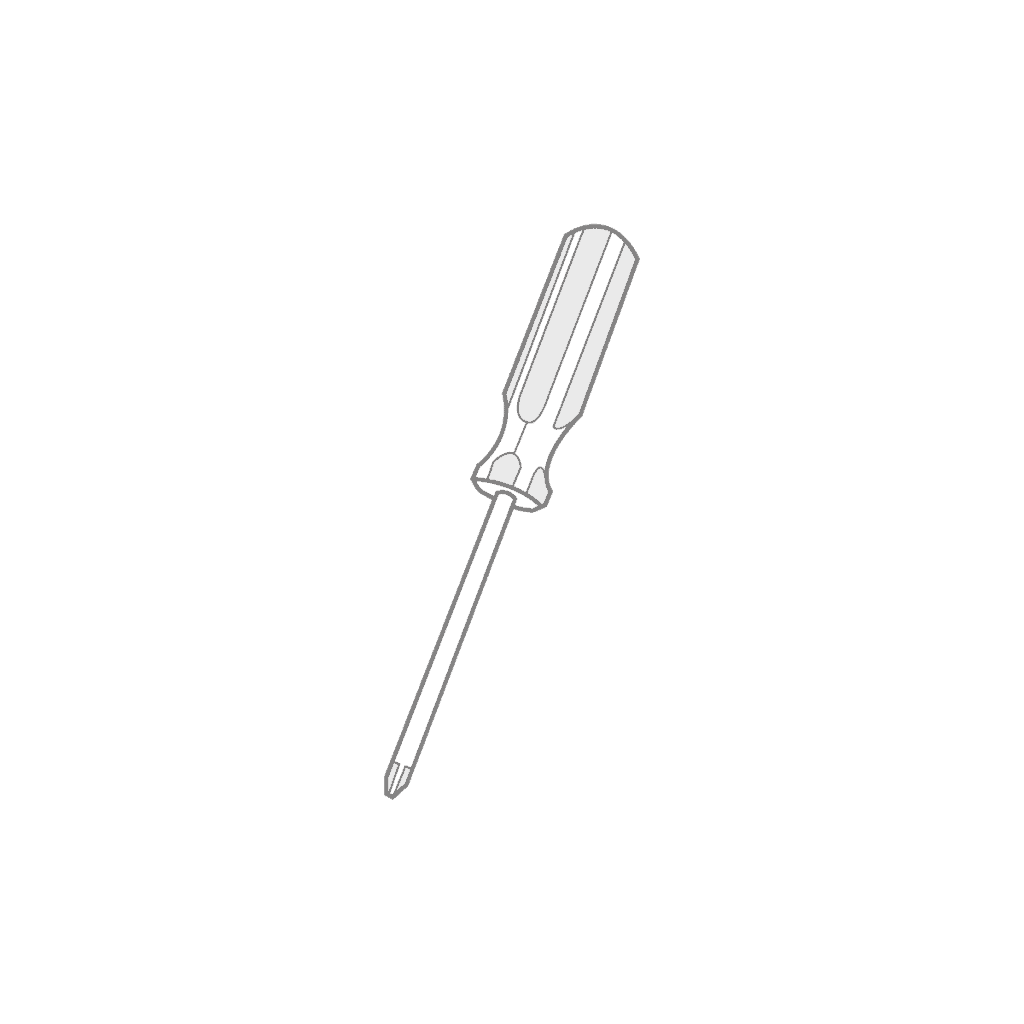
- Screwdriver or power drill: To efficiently install the brackets and screws.
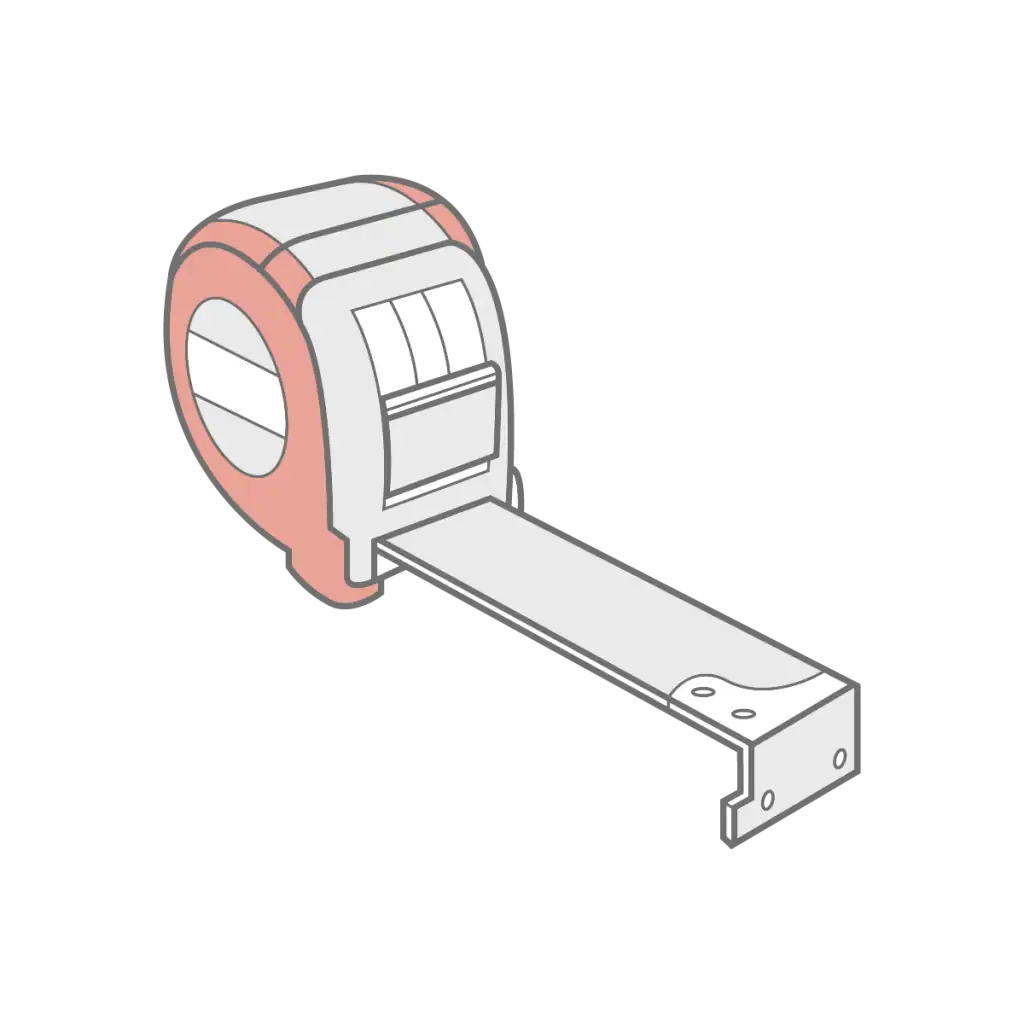
- Measuring tape: To accurately measure the positions for bracket placements.
- Appropriate screws and wall plugs: Ensure you have the correct fittings suitable for the surface you’re mounting the blinds onto. Whether it’s plaster, wood, or steel, it’s advisable to research and select the best fittings for your specific blind installation.


Installing your pleated blinds
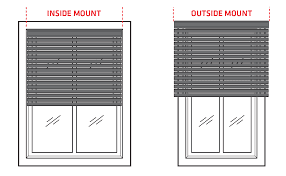
Step1:- Mounting type
Decide whether you want to mount the blinds inside the window recess (inside mount) or outside the window recess (outside mount). Inside mounts provide a sleeker look, while outside mounts can make windows appear larger.
Step2:- Fixing method
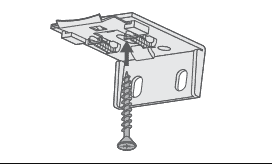
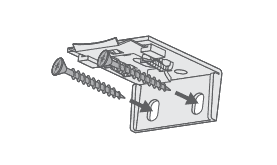
Position the brackets according to your chosen mounting location, ensuring they are evenly spaced across the width of the window. Use a pencil to mark the screw hole positions.
Top fixing
Measure and mark the distance between the wall and the back of the bracket, allowing for obstructions like handles that protrude into the recess area.
The installation brackets (top and face fix) are positioned evenly along the width of the blind. Hold each bracket into place and mark the hole positions. Please ensure fixings are suitable for the wall/surface to which you are mounting the brackets.
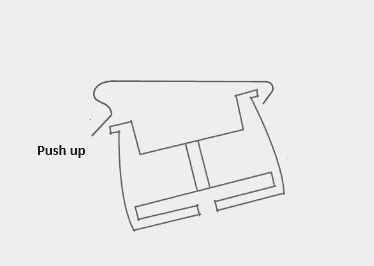
Step 3:- Inserting the headrail
Insert the headrail into the brackets as demonstrated, then push the headrail upward at the rear until it clicks fully into place.
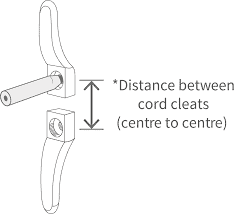
Step 4:- Installing safety cleat
Use suitable screws to attach the safety cleat securely to the wall. install them according to the manufacturer’s instructions to keep cords out of reach of children and pets.
Child Safety
Install the safety device as far as possible from the control mechanism to prevent any slack in the looped chain.
Follow these steps:
- The safety device should be installed as far as possible from the control mechanism and at least 1.5 meters above the floor to prevent the cords from tangling or becoming slack.
- This blind includes a safety device for wall mounting and a cord with a breakaway joint. The cord condenser is engineered to break under pressure and should not be altered.
- Young children can be strangled by loops in pull cords and the inner cords used to operate the product.
- To prevent strangulation and entanglement, keep cords out of reach of young children.