How to fit Tier On Tier Shutters
How to fit Tier On Tier Shutters
Tier-on-Tier Shutters offer flexible light control with independently opening top and bottom panels. Ensure proper alignment during fitting, secure the frame, and attach panels for a perfect fit. Ideal for balancing privacy and natural light in any room.
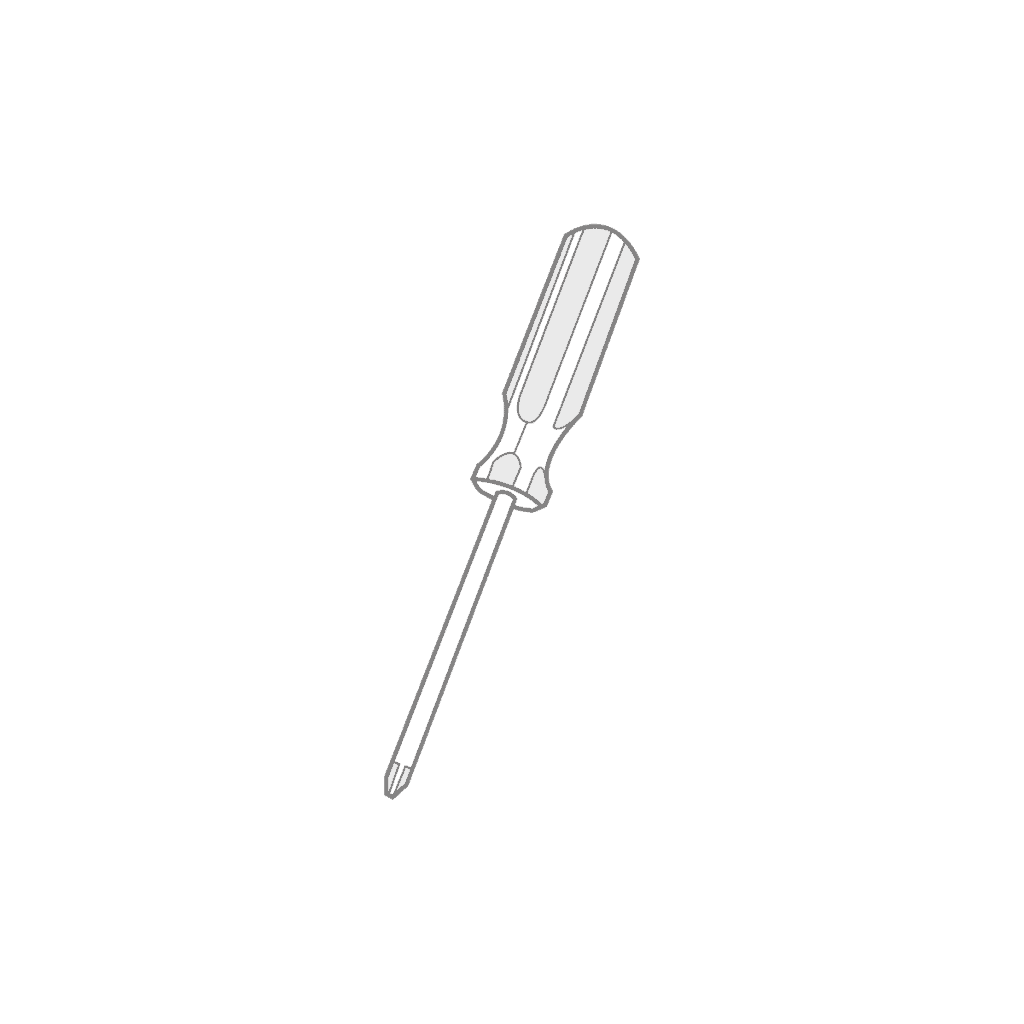
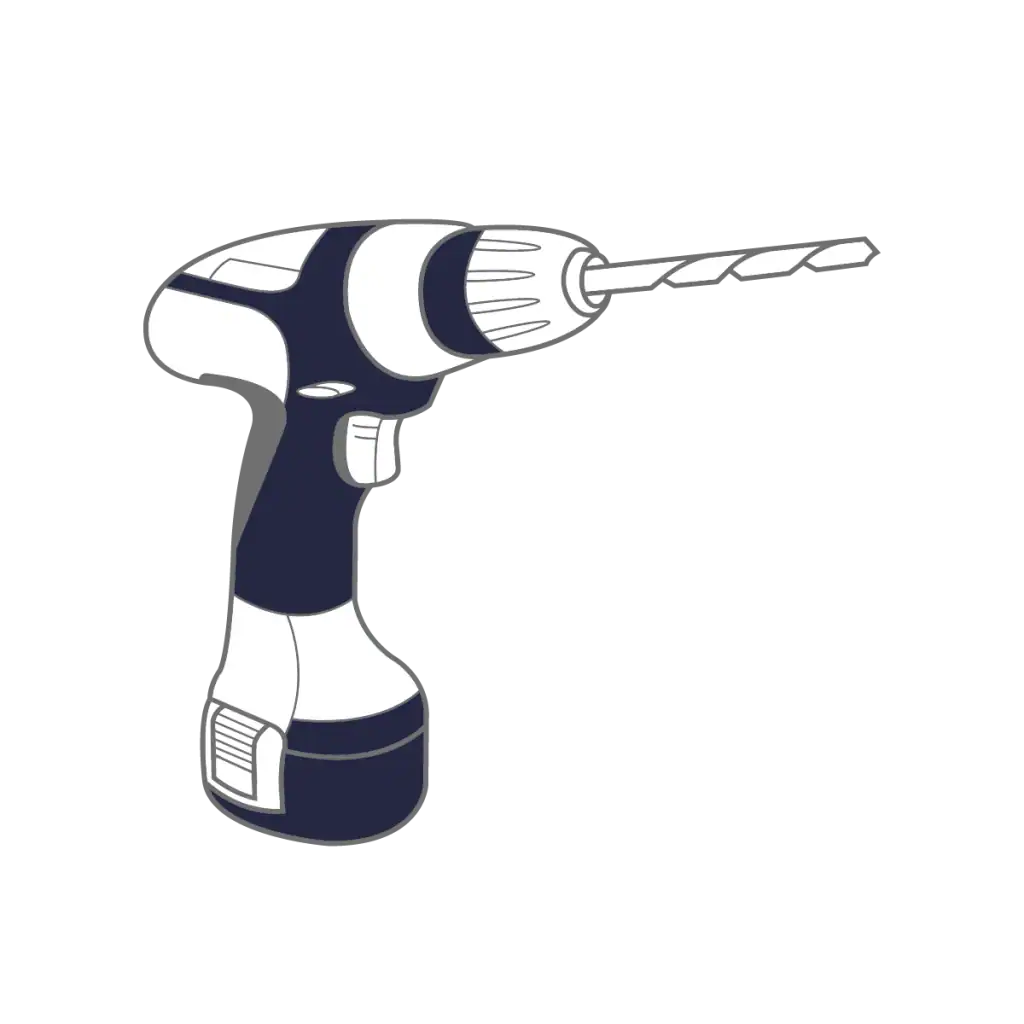
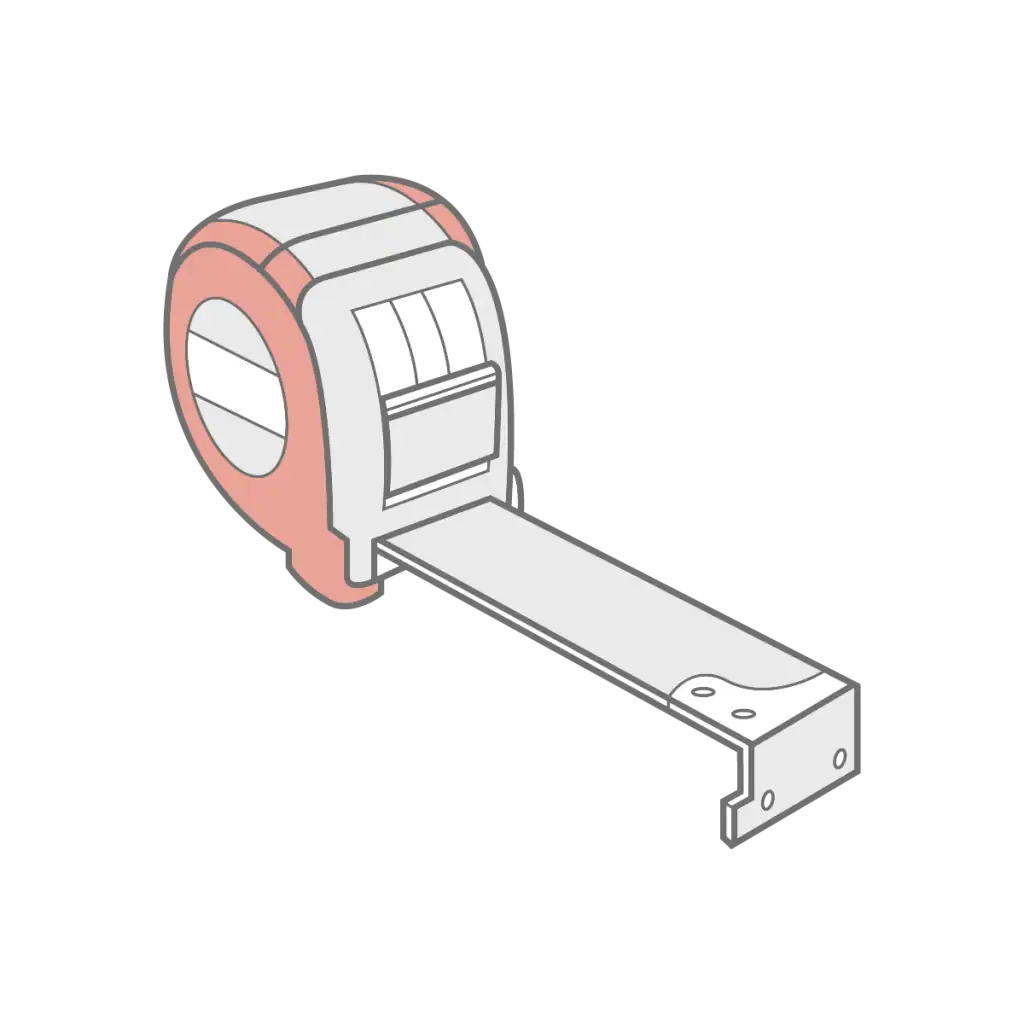
Tools you will need:


Step1
Connect the frames
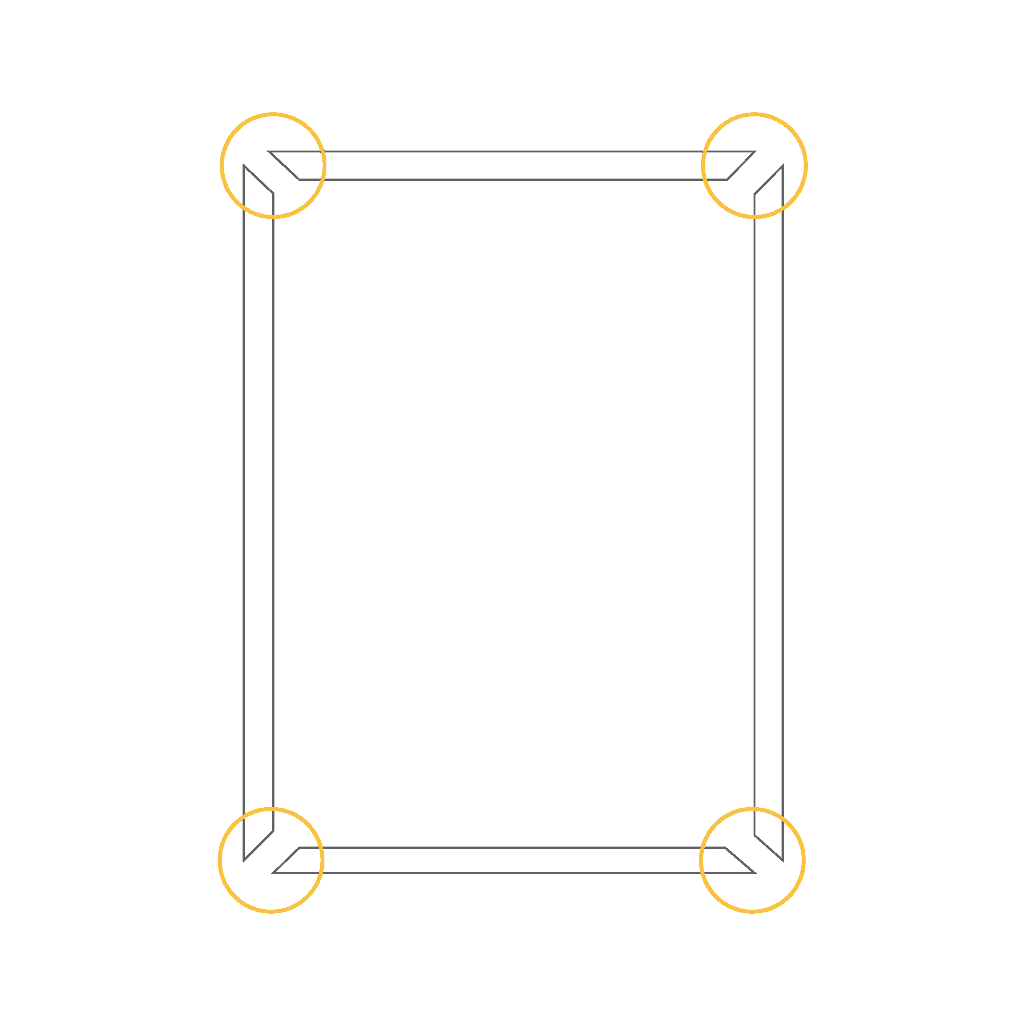
L Frames
Connect frames using the Hoffmann key provided when on the floor.
Slide each corner together.
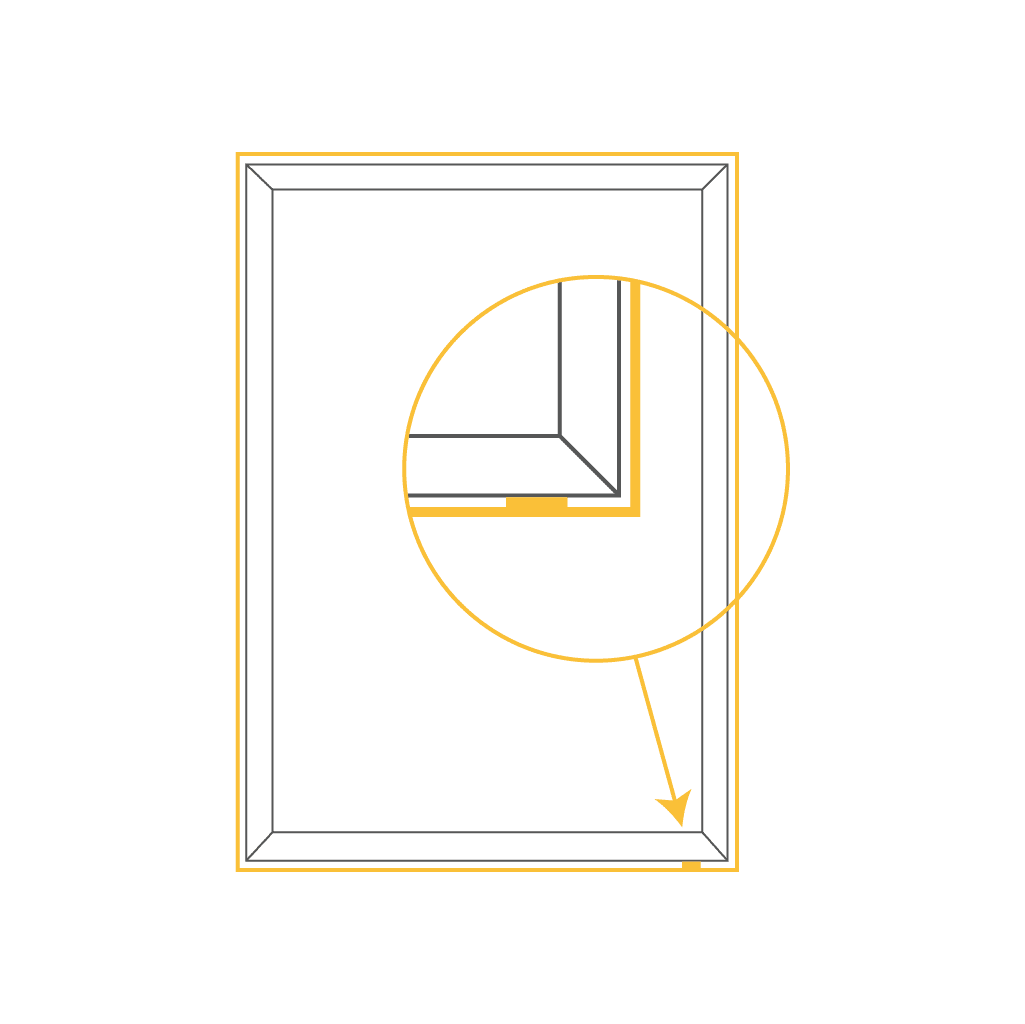
Z Frames
Unlike the L Frames, the bottom of the Z frame is secured with screws with pre drilled holes.
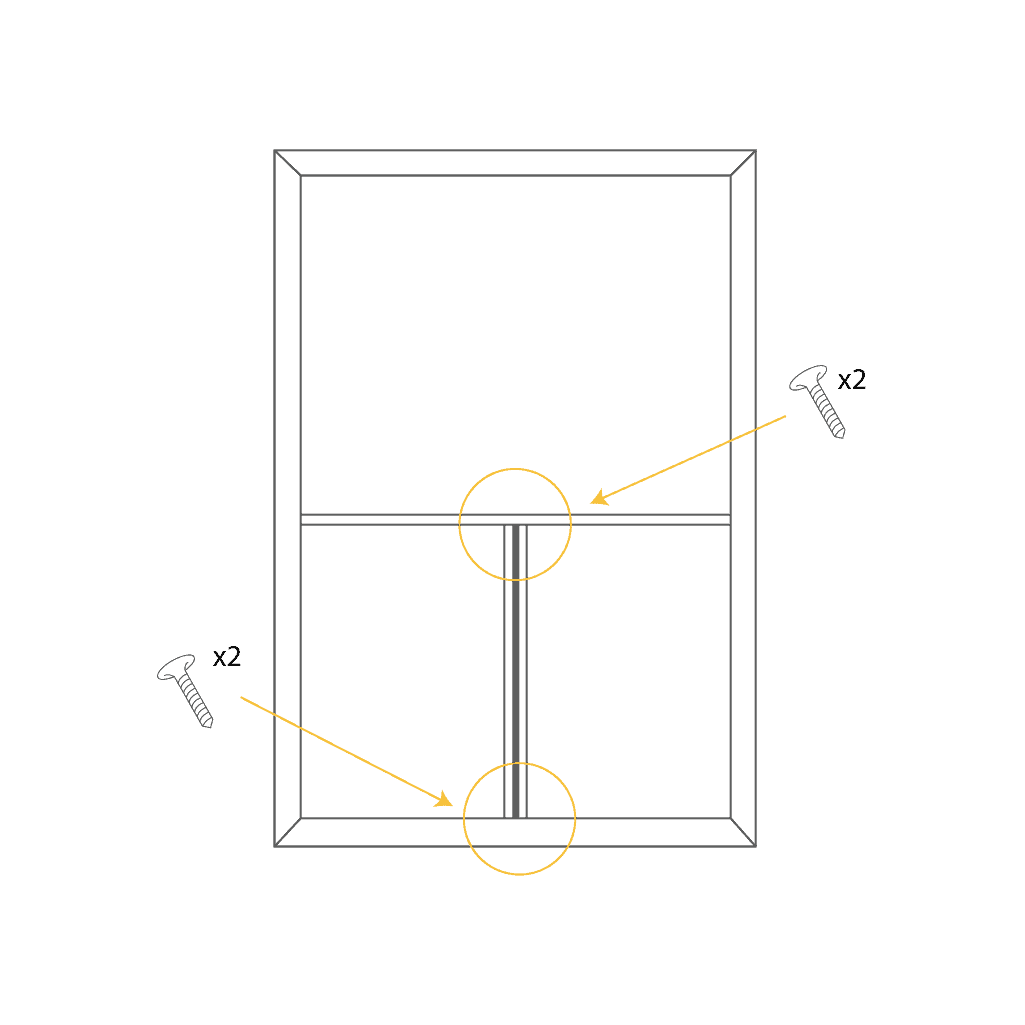
T Post
Place the frame on the floor with the panels attached, then use a packer wedge to ensure a uniform gap at the top and bottom between the shutter side and the T-post. Once aligned, secure the T-posts by screwing them into the top and bottom.
Step2
Position the frame within recess
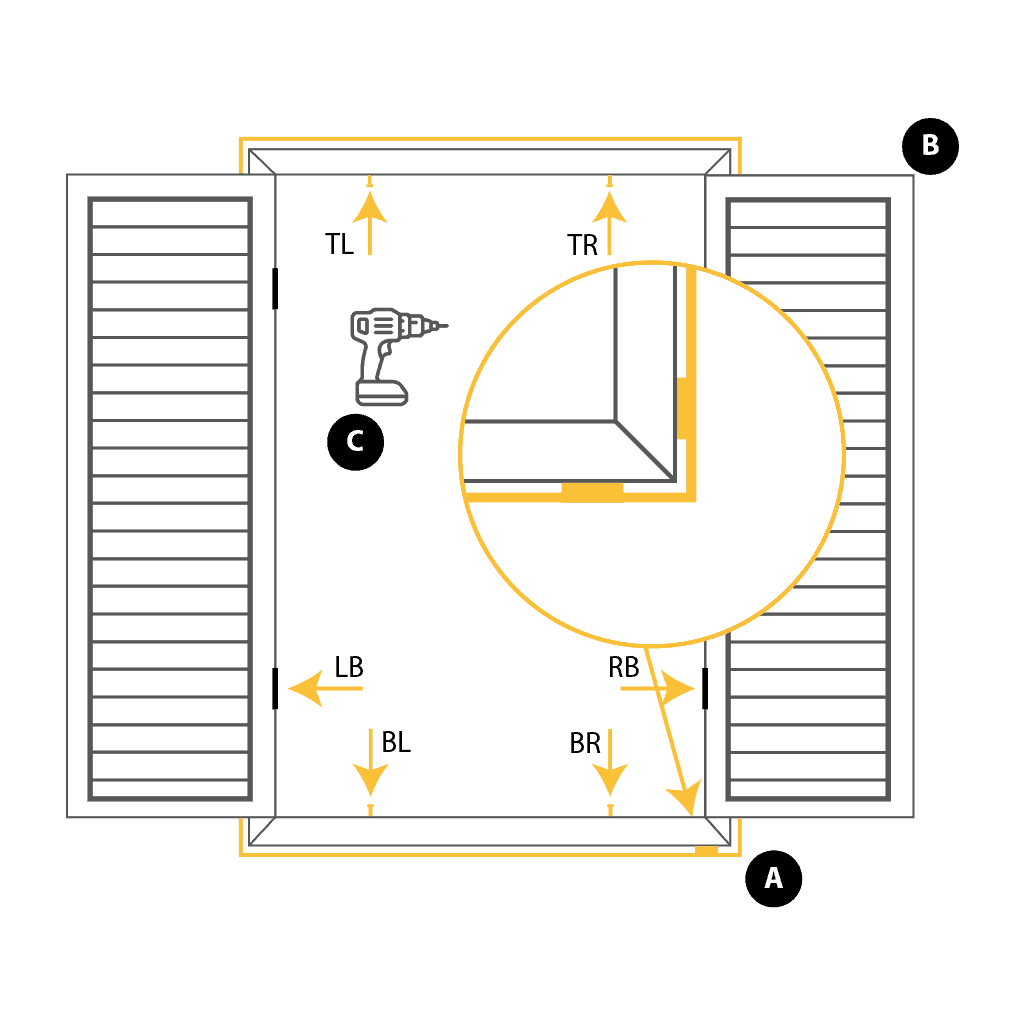
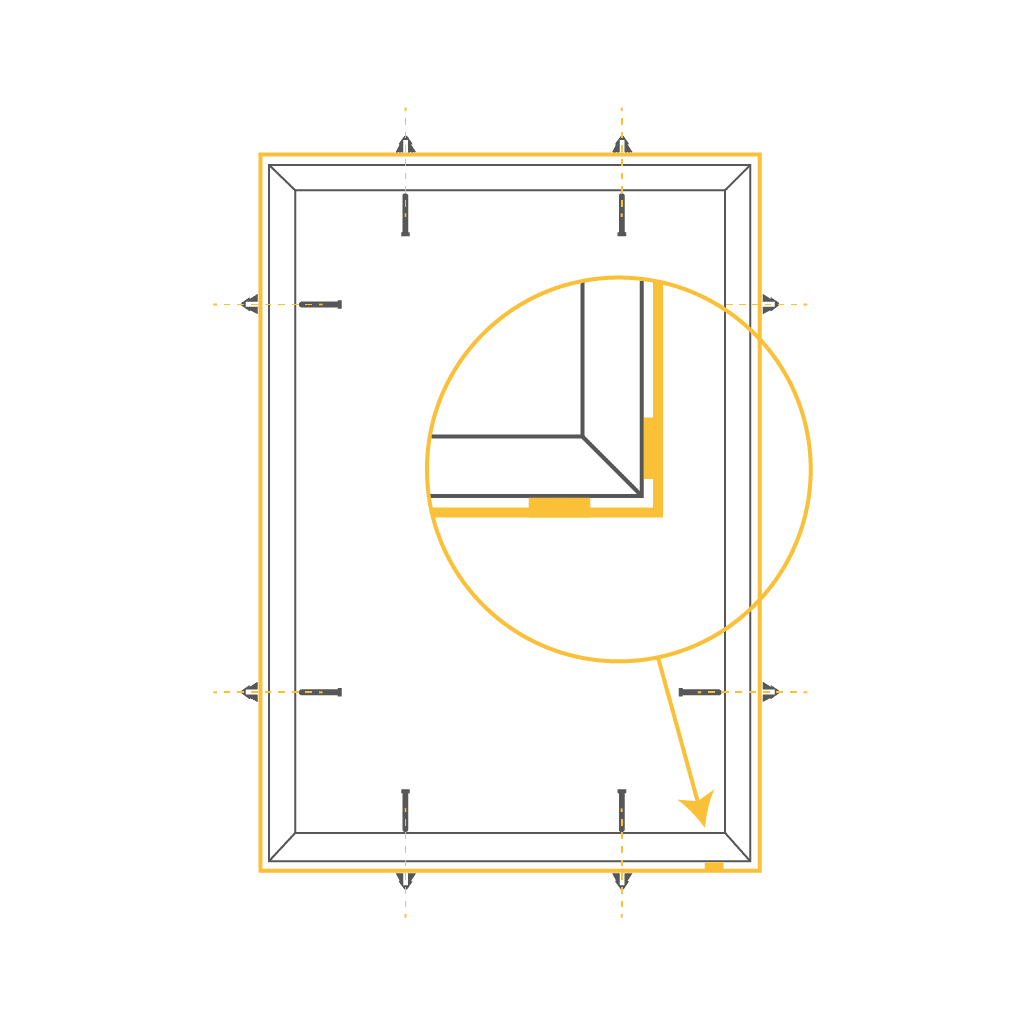
Step3
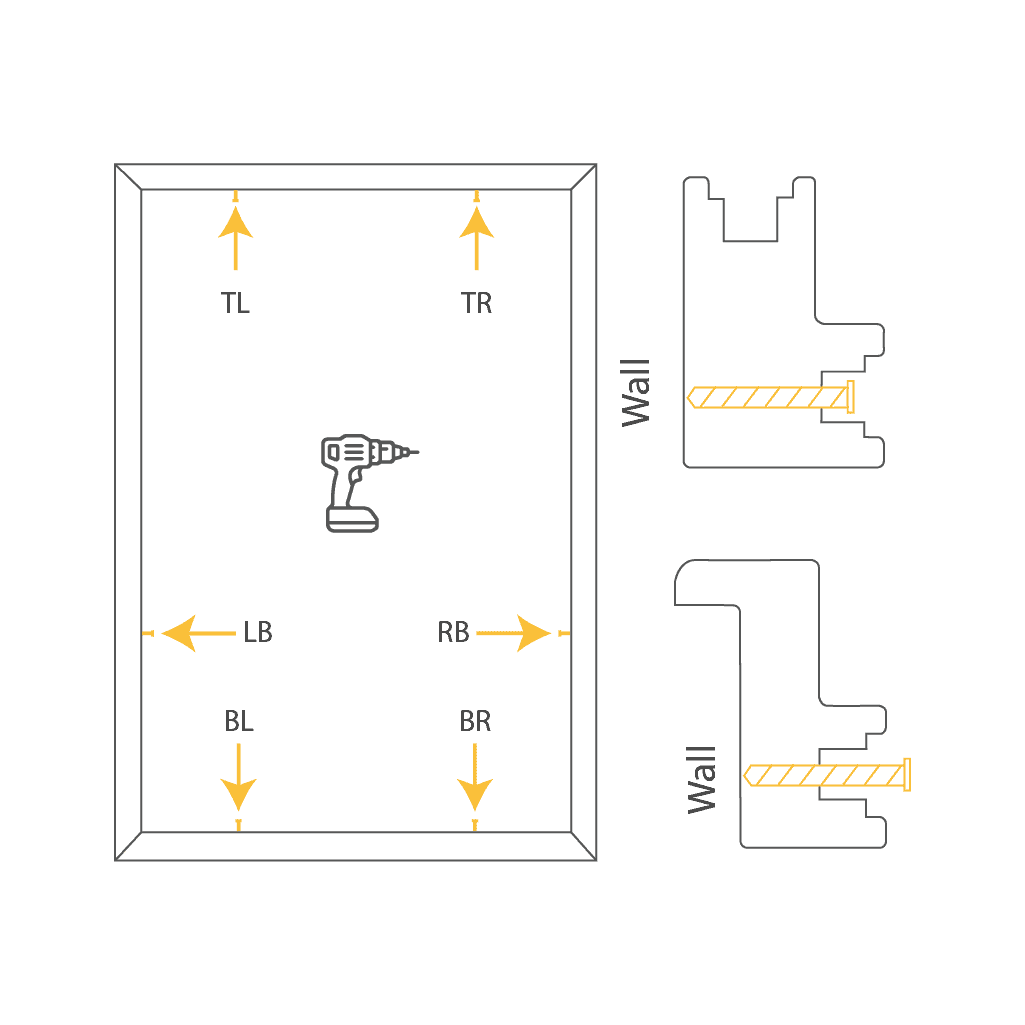
Pre-drill desired fixing points
Step4
Mount the panels
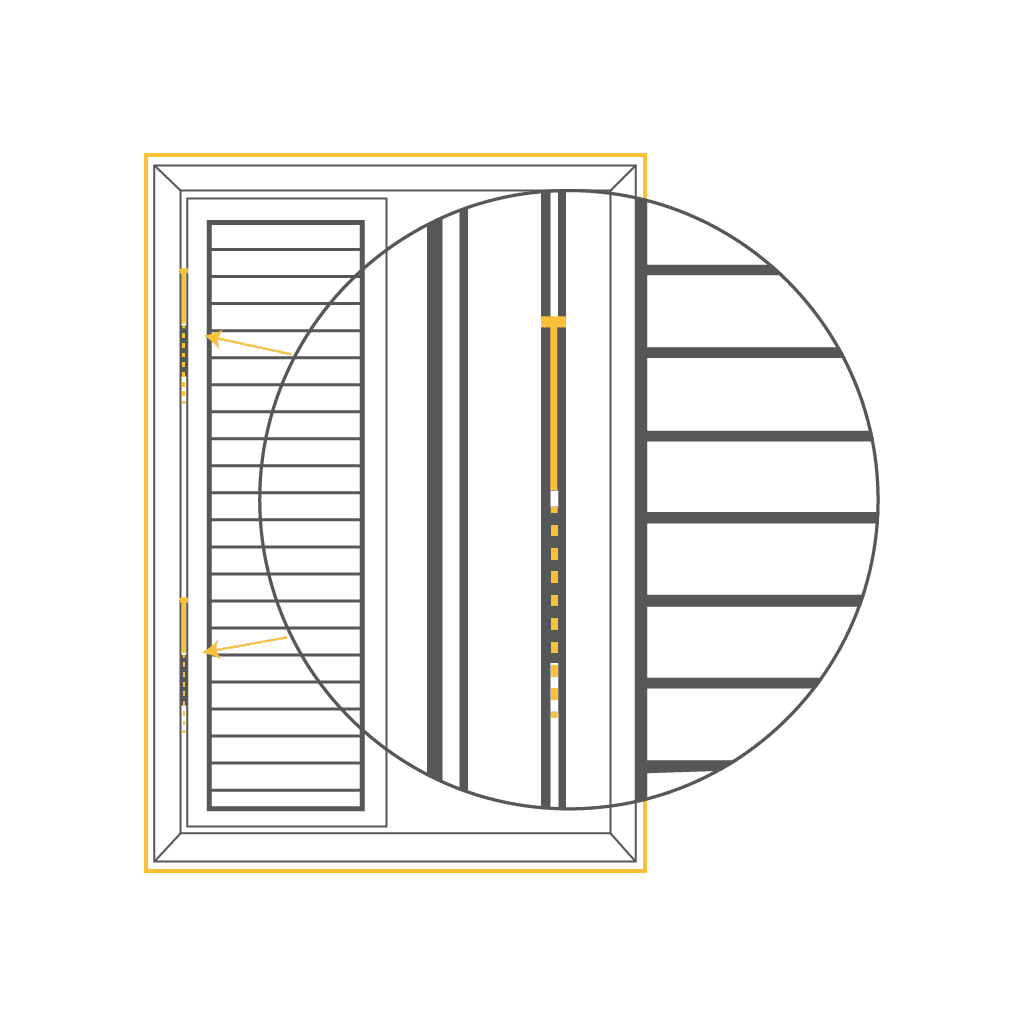
Step5

Line up panels
Step6
Re pack the frame and make holes
Once the panels are aligned at the top, follow these steps:
A – Repack the frame.
B – Open the panels.
C – Partially insert the screws to mark the wall, then remove them.”
Step7

Screw the rest of fixing points
Step8
Tight screws
Step9
Mount the panels back
Step10
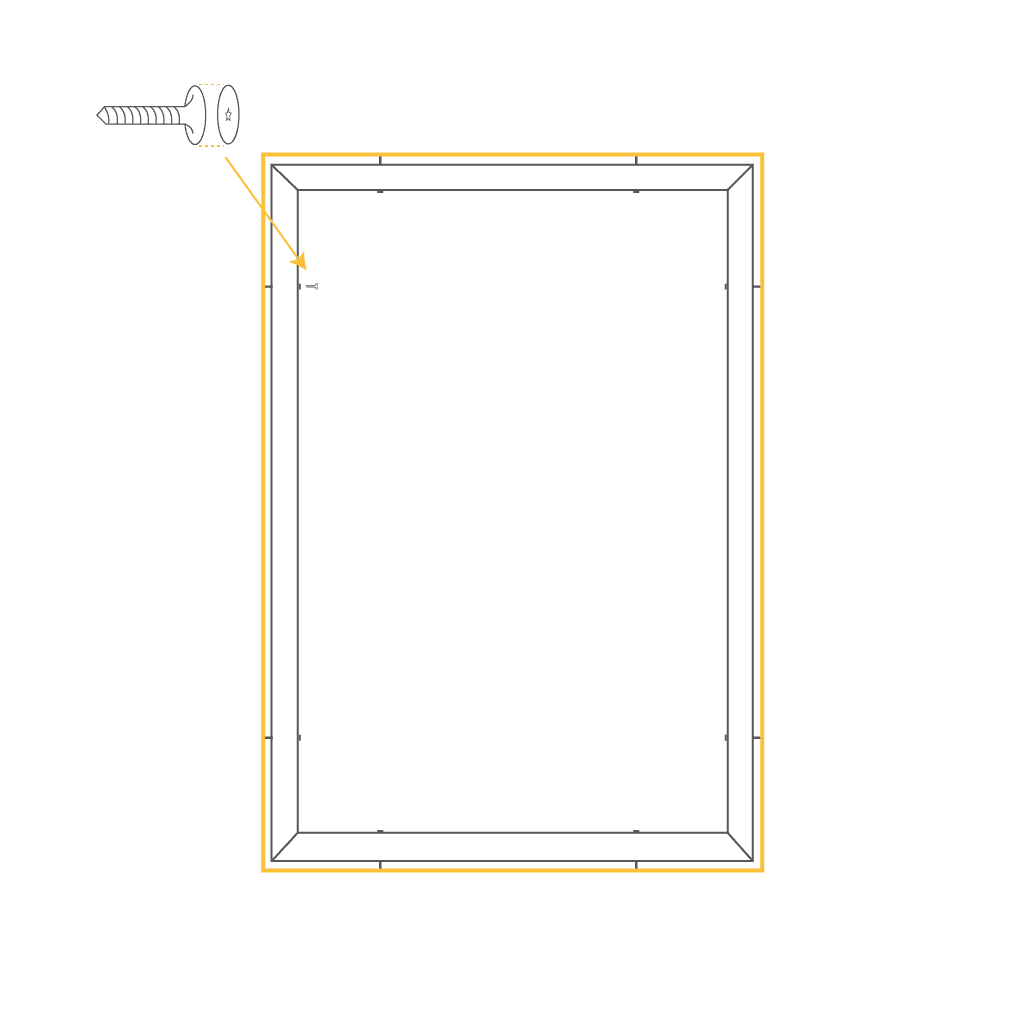
Place screw covers to the screw holes
Step11

Seal gaps
Important